Research is rarely limited to a single contributor performing a single role. Behind every research output are people contributing in various ways: software development, data analyses, methodology design, and much more. Often, the same person contributes in several of these ways. Until now, Crossref metadata could only capture part of that picture, but this is changing with Schema 5.5.
Through user experience research (UXR) initiatives that take into account our diverse membership and community, we can have a continuous, deeper understanding of the role of metadata in our members’ workflows, and ensure that our work continues to meet our community’s needs. Your support is the key to this process, and will positively impact the wider community - and if you’d like to start today, you can take part in our latest initiative: help us improve our Events page by sharing your thoughts on the page’s feedback form.
Our 2026 Community Update took place on 13 May. Two calls, one for the eastern and one for the western time zone, highlighted how our global community is growing, how we’re refining the metadata that supports trust in the scholarly record, and connecting records more effectively through our latest tools.
Funding is one of the key enablers of the research lifecycle, but has been one of the hardest parts of the scholarly record to identify, describe and connect. This is slowly changing as we have recently reached a very exciting milestone for Crossref’s Grant Linking System (GLS). What makes it remarkable is not only the numbers reached, but where the data comes from. Research funders, who joined Crossref as members, have actively contributed more than 200,000 grants to the Research Nexus (Figure 1).
Not sure if you’re using iThenticate v1 or iThenticate v2? More here.
Not sure whether you’re an account administrator? Check here.
Manage your admin account
Manage your admin account using the Account Information tab. From here, you can make changes to your details in My Profile, set up URL filters and phrase exclusions across the whole account, and set up API access to connect your iThenticate account to your manuscript submission system.
Your admin account profile (v1)
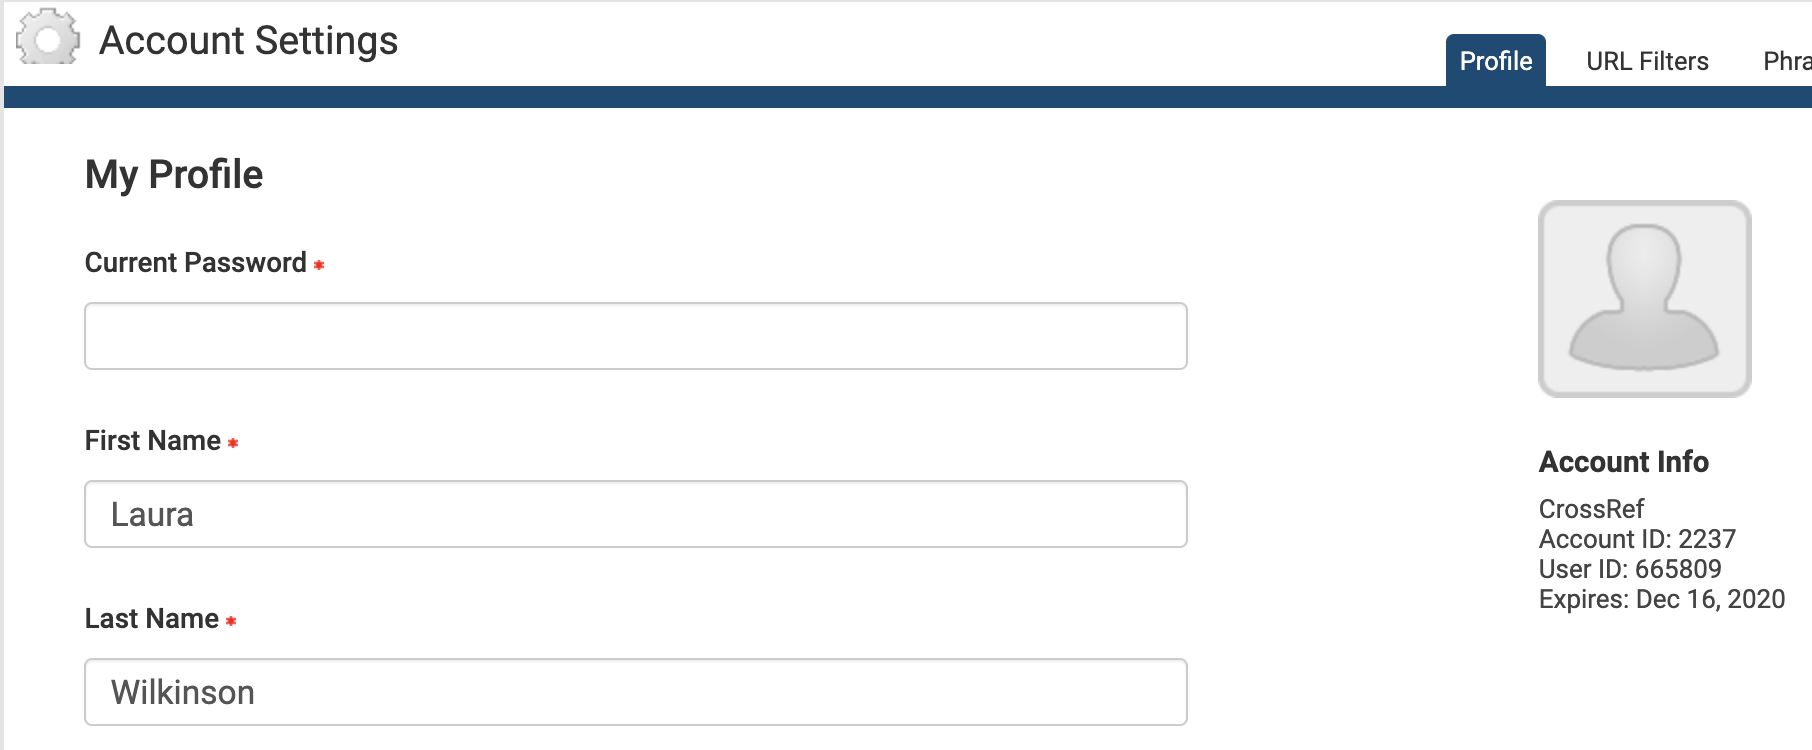
The Account Information section shows important information about your iThenticate account, including your account name, account ID, and user ID. Please ignore the iThenticate account expiry date - we’re working with iThenticate to have this removed. The iThenticate account expiry date is set to 1 June 2022 by default.
From Account Info, then My Profile, you can:
Update your profile: this form shows your current details. To make changes, enter your password in the Current Password field at the top of the form.
Change the name attributed to your account: enter the first and last name in the relevant fields. These fields are required, you cannot leave them blank.
Change your email address: enter your email into the email field. This email address is used to send you important account information, so please make sure it is valid. This field is required, you cannot leave it blank.
Add a photo to your account: click Choose File, and select the image file you want to upload.
Change your password: enter your current password in the Current Password field, enter your new password in the Change Password field, and enter it again in the Confirm Password field.
Click Update Profile to save your changes.
URL filters (v1)
This tab only appears if you are an account administrator.
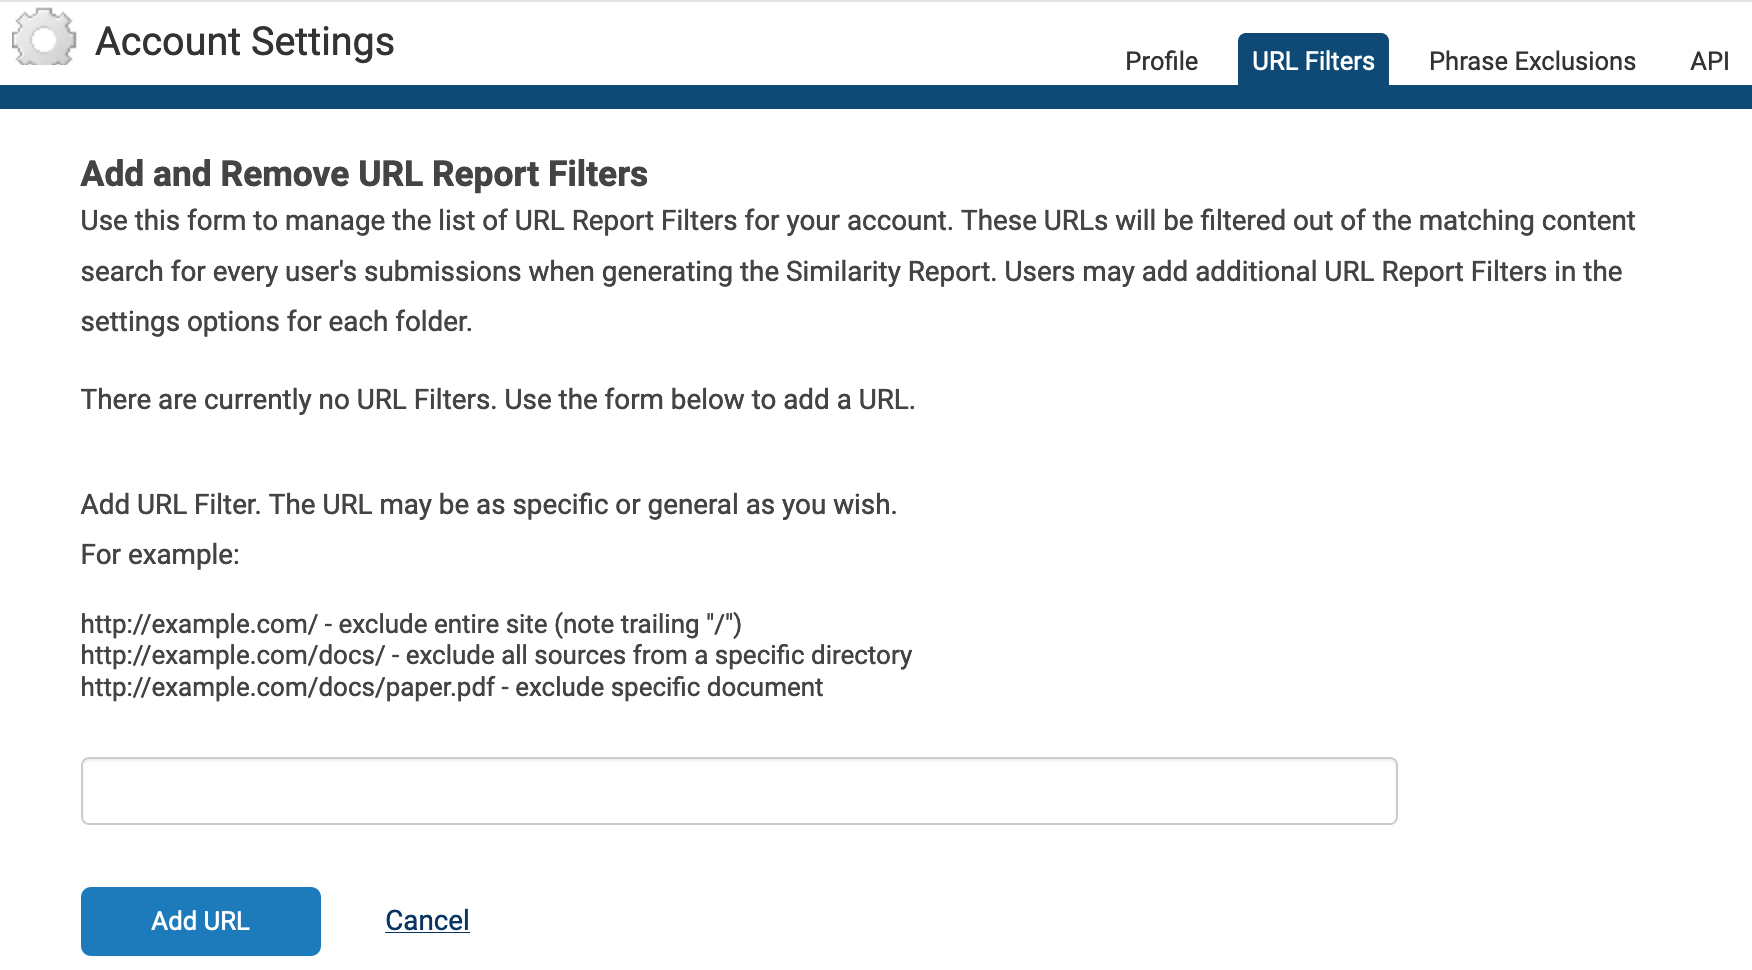
Use URL filters to apply URL exclusion filters across your account. Any URLs that you add here will be ignored when the system checks your manuscript against the iThenticate database, and it will apply across your whole account. If you want to let individual users decide which URLs to exclude instead, they can do this themselves at folder level.
Add a URL to be filtered, and click Add URL. Don’t forget to include / at the end of your URL. Click the X icon to the right of the URL to remove it.
Phrase exclusions (v1)
This tab only appears if you are an account administrator.
Use Phrase Exclusions to apply phrase exclusion filters across your account. Any phrases that you add here will be ignored when the system checks your manuscript against the iThenticate database, and it will apply across your whole account. If you want to let individual users decide which phrases to exclude instead, they can do this themselves at folder level.
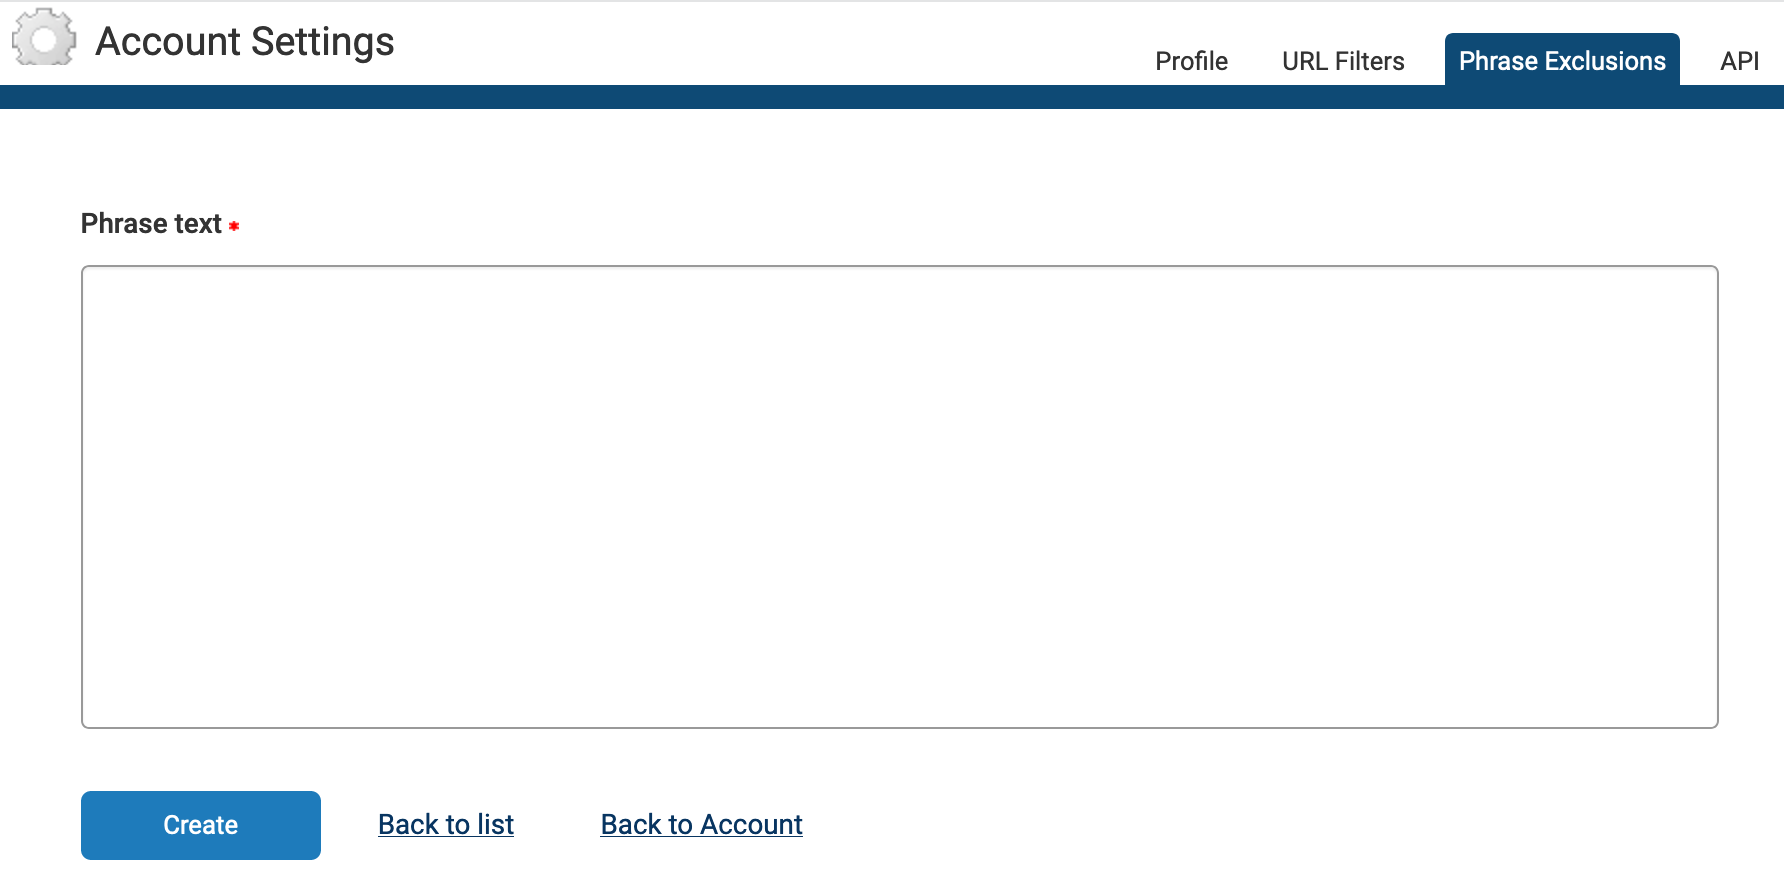
Click Add a new phrase, enter the phrase you would like to exclude in the Phrase text field, and click Create. You can add another phrase, go Back to List, or go Back to Account.
From the main Phrase Exclusions page, you can view, edit, or remove a phrase.
Page maintainer: Kathleen Luschek Last updated: 2022-July-15